

Steps For Installing Canon Printer Without CD on Windows & Mac Operating System
In this document we have described the steps for Installation of Canon printer without CD on Windows and Mac operating system. We have explained the Canon printer installer process for both wired and wireless connection.
Setup Canon Printer Without CD Wired Connection on Windows: Using Canon Printer Installer
Wired connection without cd on Windows
Below mentioned steps will fully guide you to establish a wired connection without cd on Windows with the help of ‘Canon printer installer’.
- First of all, try and establish a proper connection between your Canon printer and Windows computer using the printer’s USB cable.
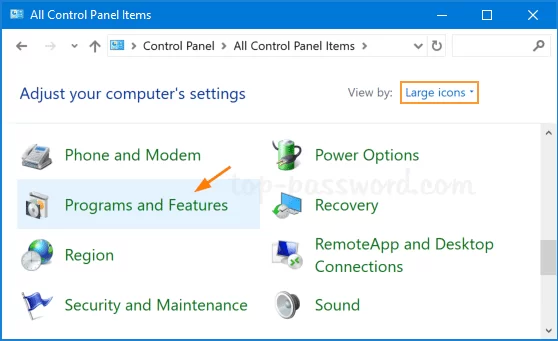
- Click on the “Devices and Printers” option from the Start button. Thereafter from a fresh screen that appears right-click on the printer icon and select” Properties”.

- Here check your Canon printer’s name and model number and minimize the present screen after hitting “Ok” option.
- Now right-click on the “Computer” option from the Start menu and select “Manage” from the given options.
- Now from the leftmost corner of the screen click on “Device Manager”. Thereafter click on “Other Devices” from the provided options on the list.
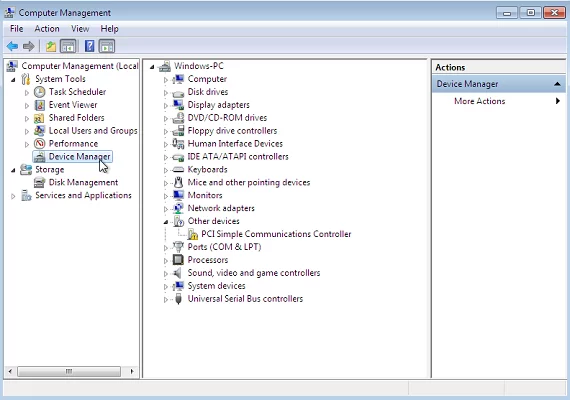
- While staying on the same window, right-click on your model and select “Update Driver Software”.
- From the next windows that appear on your screen hit click on “Browse my computer for driver software”.
- Click on “Let me pick from the Canon drivers on my computer”.Thereafter click “Next” after selecting the “Printer” option.
- Now on the next window select your printer driver from the driver’s list and hit “Next”.
- Now here keep following the onscreen instructions and hit the “Next” option.
- Now hit on the “Finish” option once you receive a message stating that you have successfully added your printer.
- Here at this step restart your pc after performing a print test.

- Now once your computer successfully restarts, go to “Devices and Printers” from the Start “ menu and select “Printer Properties”.
- Click on “Print test page”
- Now your printer setup is complete and is ready for use.
By following the above steps you will be able to easily install Canon printer without CD using a wired Connection on Windows operating system.
Wireless Connection Without CD on Windows – Using Canon printer installer
Here are the few prerequisites for wireless Canon printer installation without cd on Windows.

- The user’s network must be using the WiFi protected access or WPA2 security protocol.
The installation procedure:
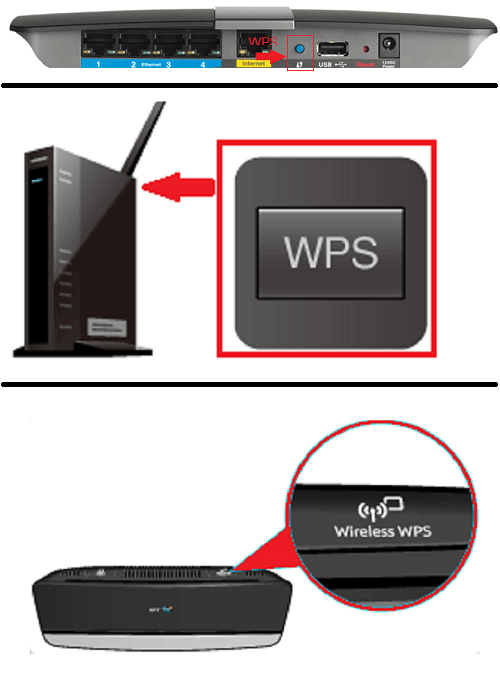
- First of all, ensure that your printer is turned on. Press and hold the WiFi button on your printer until the alarm lamp flashes for at least once.
- Ensure that the lamp next to the button flashes blue. Thereafter go to the printer’s access point and press the WPS button within the span of 2 minutes.
- Once the printer makes a successful connection to your wireless network, both the power and the WiFi lamp will stop flashing as it will show a stable light.
- Your Canon printer is successfully connected via wireless connection and you may perform a test print here!
Install Canon Printer Without CD Using a USB Cable on Mac Computer
Below mentioned steps will fully guide you to install Canon printer without CD on Mac via Canon printer installer.
- Firstly connect your Canon printer with a USB to your Mac system.
- Now turn on your printer
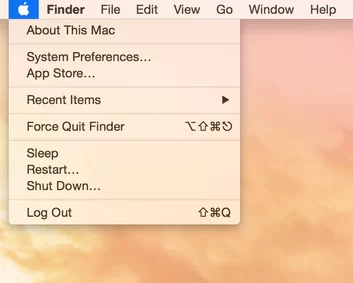
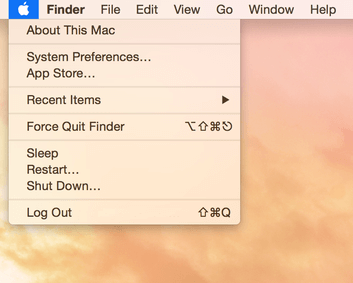
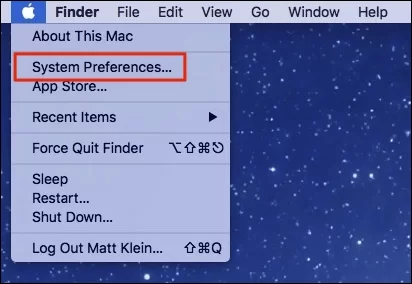
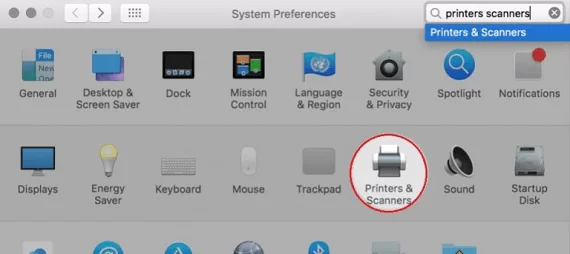
- Thereafter click on the Apple menu and select “System Preferences”.
- Now from there click on “Printers and Scanners” option.
- Click on “+” button to add your printer. Now you will see your Canon printer model on the screen. Select it and click on ‘OK’. Once the setup is completed, your printer will be ready to use.

Wireless connection without cd on Mac
Below mentioned steps will fully guide you to install the Canon printer without CD on Mac.
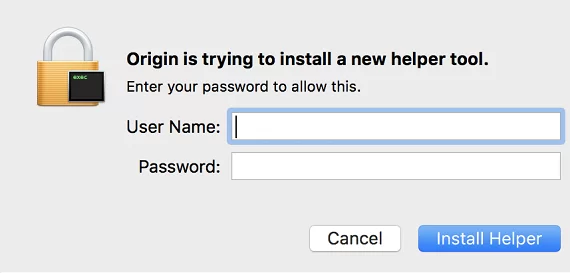
- Firstly open Canon’s driver initialize website (Canon printer installer) and enter your printers model number on the screen. Thereafter click on “Drivers & initialize” option and select continue.

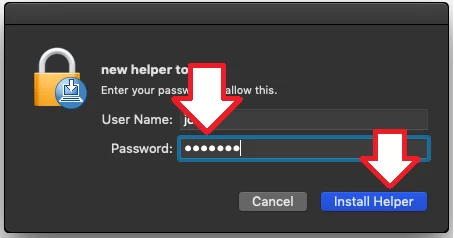
- On the next screen asking for your name and password, type your password to enable the helper tool to be installed. Thereafter click on “Install” option.
- On the next screen, click on “Next”.
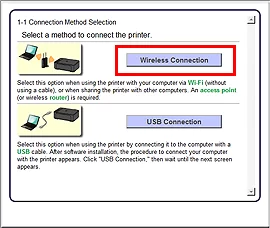
- The next screen will ask you to select the type of connection between USB or wireless connection. Select “Wireless connection” from the two.
- Here at this step ensure that the power lamp is turned on and hit the “Next” button.
- On the next screen select “Connect to the Network”.
- Once the “Connection via cableless “ screen appears, hold down the printer’s wifi button until the orange alarm lamp flashes twice. Thereafter release after the second flash.
- Here confirm that the blue wifi lamp flashes quickly and the green power lamp is lit. Click “Next”.
- On the next screen that appears, select your current region and hit “Next”.
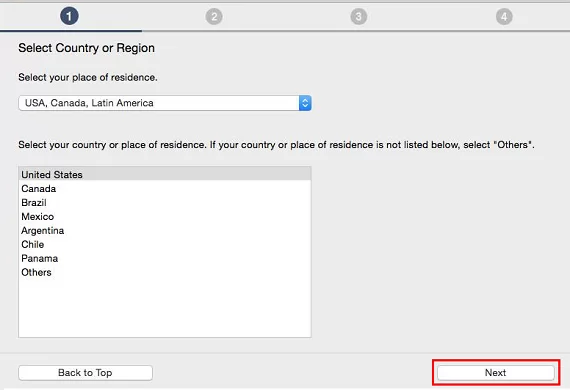
- On the subsequent screen that appears select your place of residence and hit “Next”.

- Click “Yes” to agree to end the user license agreement on this next screen.

- Click “Add a printer” from the next screen that appears.
- From the next screen, select your Canon printer model driver version and select “Add”.
- As the very last step, click “Next “ to finish the setup process!